由於我們客戶網站專案都必須走 https:// 的方式,所以在開發時測試機也必須安裝憑證,模擬與正式機相同的環境,否則有些功能將無法運作。請參考下面步驟建立本地端測試機憑證。
- 在路徑C:\xampp\apache目錄下建立一個資料夾 crt
- 在crt目錄下增加以下兩個檔案
- cert.conf (將下面文字複製到檔案裏面並存檔)
[ req ]

default_bits        = 2048
default_keyfile     = server-key.pem
distinguished_name  = subject
req_extensions      = req_ext
x509_extensions     = x509_ext
string_mask         = utf8only

[ subject ]

countryName                 = Country Name (2 letter code)
countryName_default         = US

stateOrProvinceName         = State or Province Name (full name)
stateOrProvinceName_default = NY

localityName                = Locality Name (eg, city)
localityName_default        = New York

organizationName            = Organization Name (eg, company)
organizationName_default    = Example, LLC

commonName                  = Common Name (e.g. server FQDN or YOUR name)
commonName_default          = {{DOMAIN}}

emailAddress                = Email Address
emailAddress_default        = test@example.com

[ x509_ext ]

subjectKeyIdentifier   = hash
authorityKeyIdentifier = keyid,issuer

basicConstraints       = CA:FALSE
keyUsage               = digitalSignature, keyEncipherment
subjectAltName         = @alternate_names
nsComment              = "OpenSSL Generated Certificate"

[ req_ext ]

subjectKeyIdentifier = hash

basicConstraints     = CA:FALSE
keyUsage             = digitalSignature, keyEncipherment
subjectAltName       = @alternate_names
nsComment            = "OpenSSL Generated Certificate"

[ alternate_names ]

DNS.1 = localhost- make-cert.bat (將下面文字複製到檔案裏面並存檔)
@echo off
set /p domain="Enter Domain: "
set OPENSSL_CONF=../conf/openssl.cnf
if not exist .\%domain% mkdir .\%domain%
..\bin\openssl req -config cert.conf -new -sha256 -newkey rsa:2048 -nodes -keyout %domain%\server.key -x509 -days 365 -out %domain%\server.crt
echo.
echo -----
echo The certificate was provided.
echo.
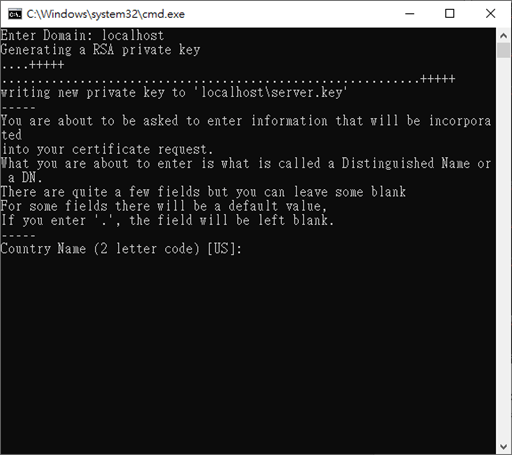
pause雙擊執行 make-cert.bat,並輸入 localhost 開始建立憑證。
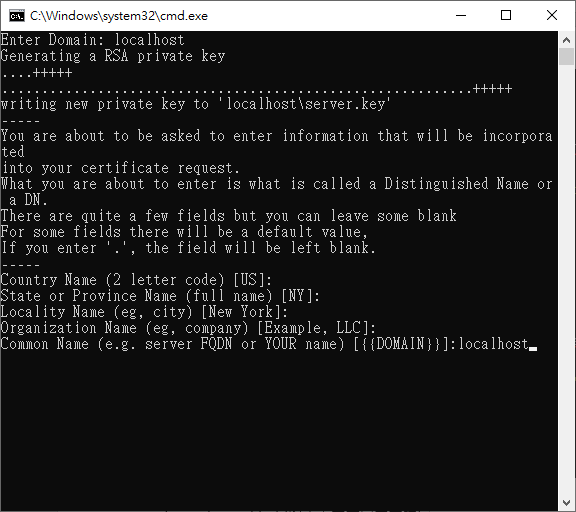
按下enter 4次,出現Common Name…填入 localhost後按enter直到結束。
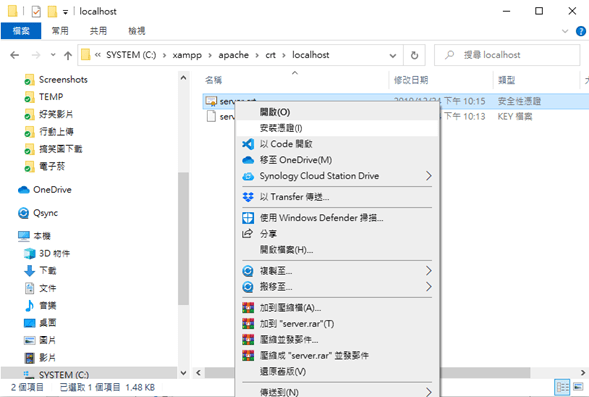
目錄下就會產生一個 localhost 目錄,進入該目錄在 server.crt 檔案上按右鍵。選擇 安裝憑證。
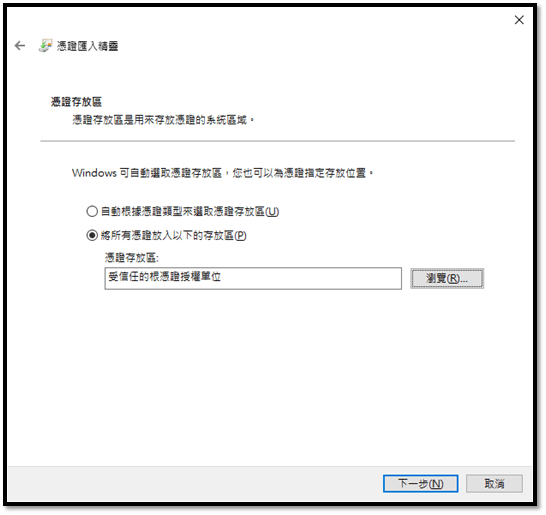
跳出憑證匯入視窗,選擇將所有憑證放入以下區域:受信任的根憑證授權單位。然後按下一步直到跳出匯入成功畫面就算完成。
切換至 C:\xampp\apache\conf\extra 目錄下,編輯 httpd-xampp.conf 檔案,並在最末端加入下面文字後存檔並重新啟動 XAMPP 的 Apache
## localhost
<VirtualHost *:80>
DocumentRoot "C:/xampp/htdocs"
ServerName localhost
ServerAlias *.localhost
</VirtualHost>
<VirtualHost *:443>
DocumentRoot "C:/xampp/htdocs"
ServerName localhost
ServerAlias *.localhost
SSLEngine on
SSLCertificateFile "crt/localhost/server.crt"
SSLCertificateKeyFile "crt/localhost/server.key"
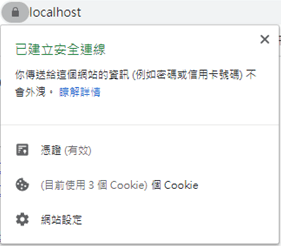
</VirtualHost>重新啟動 XAMPP 的 Apache,開啟瀏覽器輸入https://localhost。點選 localhost 旁邊鎖頭確認是否已經建立安全連線。
由於我是直接使用 localhost 當作 ServerName 所以不需要修改C:\Windows\System32\drivers\etc\hosts ,若你在建立憑證時 ServerName 使用非 localhost 的名稱則需要編輯hosts檔案。並且同時需要修改 cert.conf 最後一行。
編輯 C:\Windows\System32\drivers\etc\hosts
#其他 ServerName 名稱
127.0.0.1    xxx.yyy.zzz